
Follow this guide to take amazing pictures of your space and make your listing stand out.
Capturing and posting great photos of your listing is the most important part of setting up your Swimply listing. Photos are the biggest component in driving guests to book your space over the other listings on the platform. From an amazing cover photo to getting guests to click on your listing when scrolling through options, to great pictures of the entire space to allow potential guests to “see themselves” in the space and think, “I need to book this”. Getting great photos of your pool is also easier than you think, even if you have never taken pictures of a space before. All you need is a smartphone, 30 minutes and this article :) After reviewing the tips and steps outlined in the article below, your listing will be shining bright like a star! Capturing the perfect photos for your listing is essential not only to attract guests and receive bookings, but high-quality photos also make your listing more appealing and wil help your listing rank higher in the search. The better the photos the more bookings you will get and they will also help with the booking process! Photos are the very first impression that the guests get from your listing and they are what will make a guest decide whether to book your listing or choose somewhere else. So make sure the photos are eye popping and get the guests attention so they want to book your listing!
Requirements for uploading your photos:
-
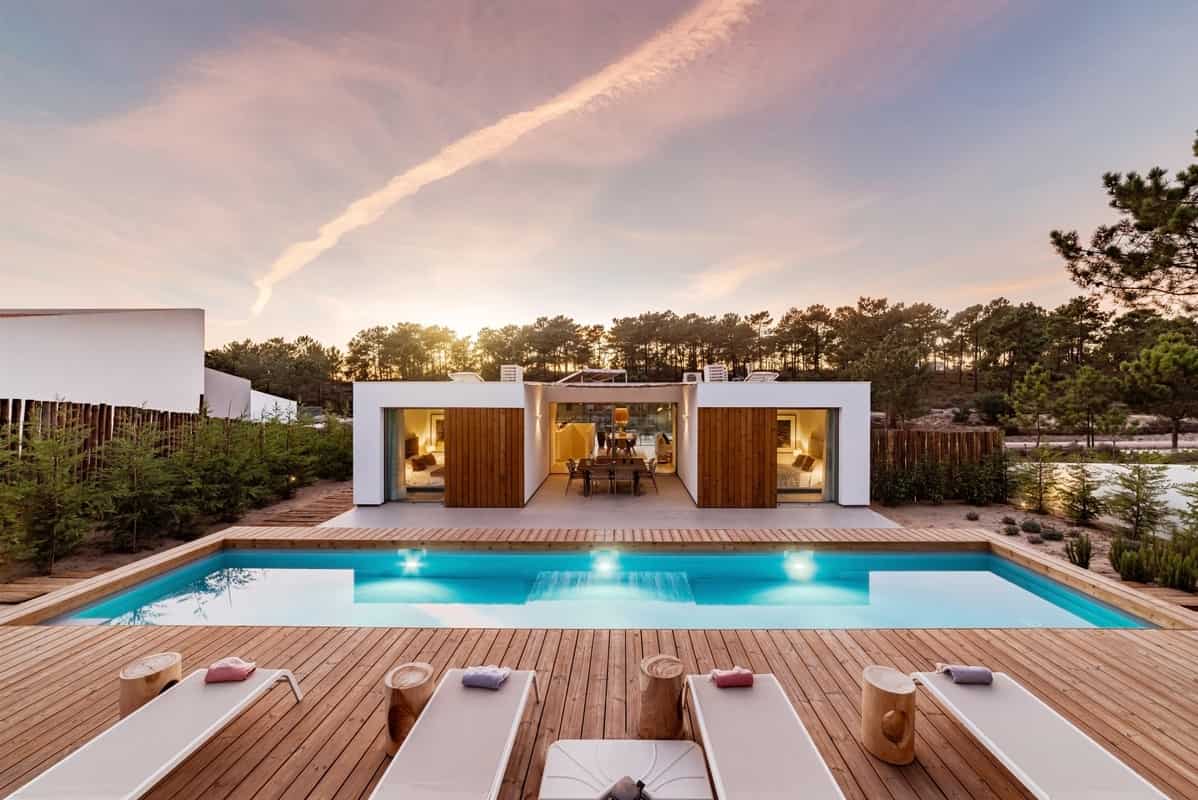
Choose an Eye Catching Cover Photo: Grab the guests attention with an eye catching cover photo that shows the entire space. The cover photo of your listing is the main component that guests will see when scrolling through tens, even hundreds of different spaces. Without an amazing cover photo, guests will not click on your listing at all so you will not get a chance to showcase your awesome space to them.
-
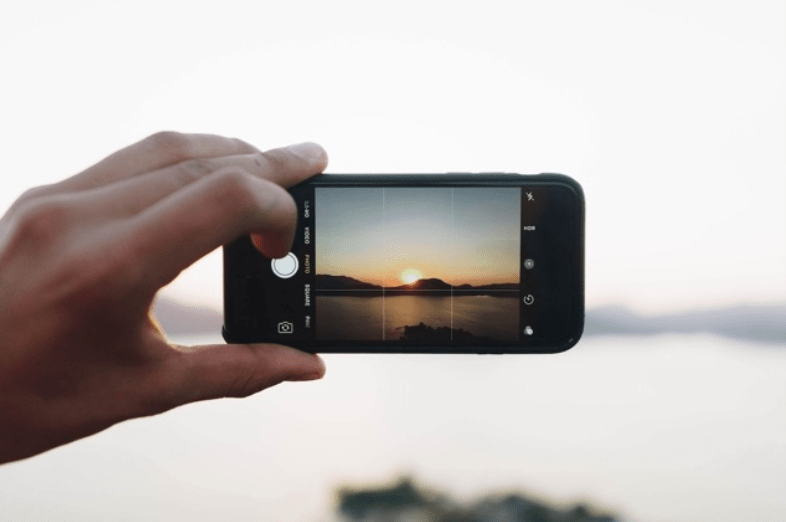
Take Photos in Landscape Mode: Take your photos on your phone or camera horizontally (landscape mode).This is the only way that you can upload your photos on our platform. It is incredibly important to take all the pictures of your space (including the bathroom and amenities) holding your phone sideways otherwise the photos will come up stretched and distorted on the site.
-
What To Use To Take Your Photos: Smartphone camera pictures are great as well as using a professional camera.
Tips for great photos:
-
Select the Ideal Time: The best time to take photos is on a bright sunny day. You want your guests to be able to envision themselves enjoying your space in the best weather possible while also capturing the best lighting possible.
-
Prepare Your Space: Before you start taking photos of your space, make sure it is clean and decluttered. Remove any clutter or personal items that could distract the guest. Make sure to remove any cleaning supplies and/or robots, and spend some time straightening pillows to make the space look perfect. 10 extra minutes of prep time here will make all the difference in the end result.
-
Showcase Your Space and Amenities: You must capture the main features of your space. The “hero” or your space (the pool) should be prominently featured, while at the same time showcasing the space around the pool. Take a few steps back so you can take wide-angle shots to show the entire space. Taking photos of any amenities or special features, like a barbecue area, cabana, or hot tub. Make sure you are capturing the space around it as well. Guests should be able to see the amenity in relation to the rest of the space and not just a close up of the amenity. The best tip to always achieving this is taking a few steps back before capturing any shot..
-
Order the Photos: The order you place your photos in is critical to the success of your listing. Obviously the most important is the cover photo, that is what drives guests to click on your listing over the others they are scrolling through. Once the guests click on your account you want to show them the entire space from different angles first, then moving to details, amenities, bathroom, etc. A guest wants to see the entire space first then the amenities. Do not showcase your grill and the amenities first otherwise the guest will quickly lose interest.
-
The More Photos, The Better: Upload at least 10 of the best photos of your space. Guests want to be able to imagine themselves there before they book. Here is your chance to show them your space fits their needs! Our max limit is 50 photos!
How to Upload Photos to Your Listing:
Web:
-
Click the 3 white lines at the top right corner
-
Click “Manage Listing”
-
Click “Space settings”
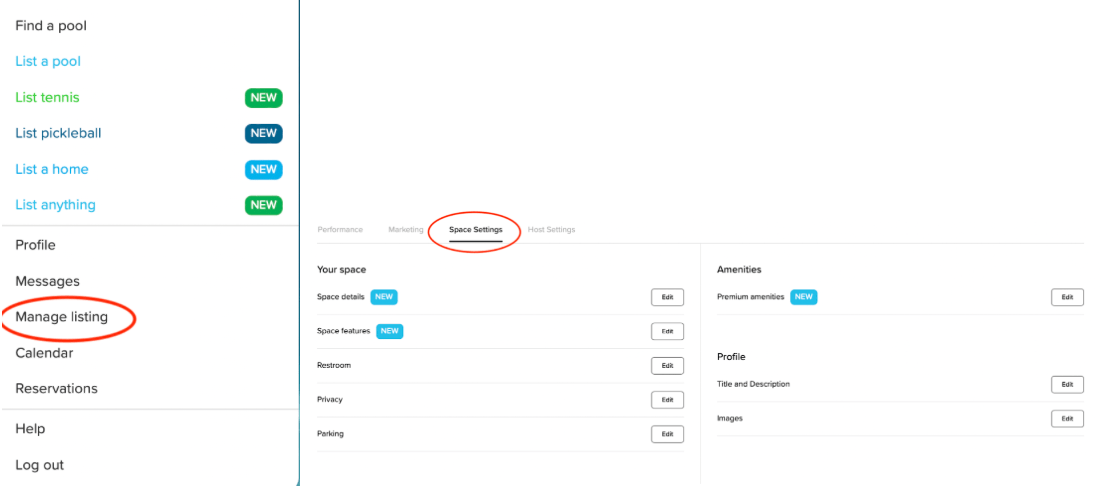
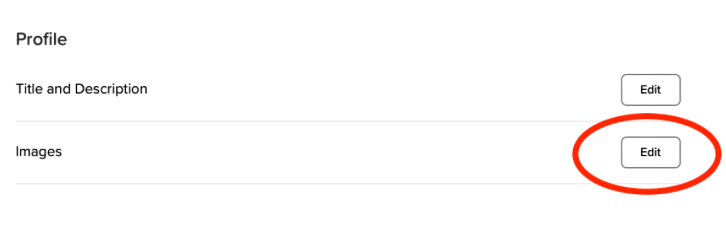
- Click “Edit” next to “Images”
-
Click the “+” icon to upload the photo
-
Click “Upload”
-
Click “Save”
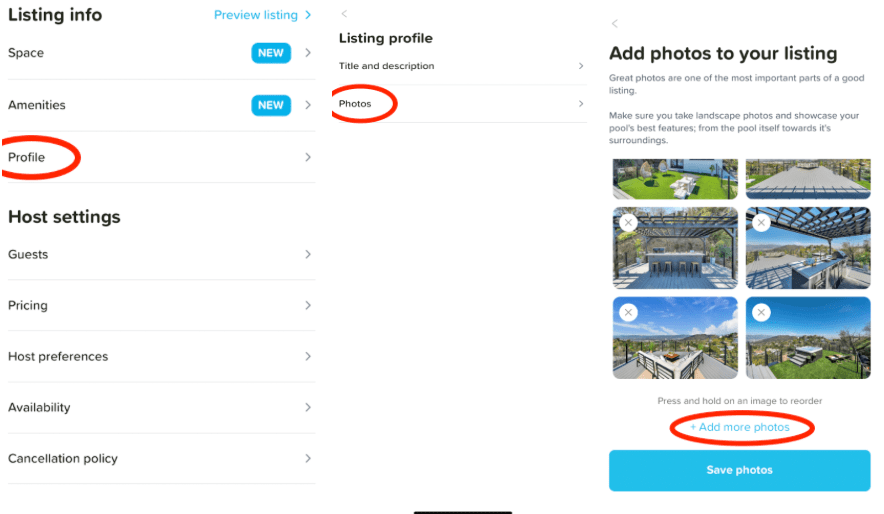
App:
-
Log into your account
-
Click “Profile”
-
Click "Photos"
-
Click “+ Add more photos”
-
You can either take photo or upload from gallery
-
Click “Save Photos”
(From this page for both web and app you can rearrange the photos by pressing and holding down the image to reorder, and delete the image by clicking on the “x” icon on the image that you want to delete)
By following these steps, you'll create a visually appealing listing that attracts guests and helps you make the most of your hosting experience!
Comments
0 comments
Please sign in to leave a comment.